Social Media: Difference between revisions
Jump to navigation
Jump to search
m 31 revisions |
|||
| Line 29: | Line 29: | ||
<pre> | <pre> | ||
Function btnRetrieve_onclick() | Function btnRetrieve_onclick() | ||
GetJSON("https://graph.facebook.com/" & txtId.value, "callback=?", gotResult) | |||
End Function</pre> | End Function</pre> | ||
* | * GetJSON is a wrapper for an Ajax call | ||
* We put the name of the person we want in the URL | * We put the name of the person we want in the URL | ||
* We supply the name of the function to call on return ("gotResult"). | * We supply the name of the function to call on return ("gotResult"). | ||
Latest revision as of 15:03, 3 June 2014

- This sample shows a couple of Twitter APIs
- No code needs to be written: Twitter does all the work.
- The display to be generated is set by a Twitter Widget ID
- To create a Twitter widget, sign onto Twitter
- In the above image, the top widget is a Follow widget
- Beneath that, is a Timeline widget.
- There are many, many options to explore on Twitter's site.

- The above image is a dump of the Facebook graph.
- The complete FaceBook API is rich and complex.
- Docs are at https://developers.facebook.com/docs/reference/javascript/
- To get a Facebook graph of a facebook account, first make the request:
Function btnRetrieve_onclick()
  GetJSON("https://graph.facebook.com/" & txtId.value, "callback=?", gotResult)
End Function
- GetJSON is a wrapper for an Ajax call
- We put the name of the person we want in the URL
- We supply the name of the function to call on return ("gotResult").
- This is an asynchronous call: we can do other things while waiting for the result.
Function gotResult(data)
  txtData.value = ""
  If data["error"] Then
    txtData.value = data.error.message
  Else
    For Each item in data
      txtData.value = txtData.value & Eval("item") & ": " & item & vbCRLF
    Next
  End If
End Function
- The data returned will be a JSON object, stored in data.
- This code dumps the name and value of the fields in data.
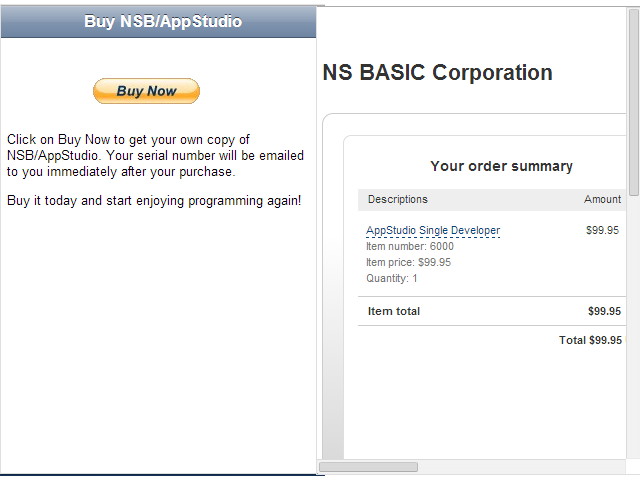
PayPal
- The PayPal control allows you to collect money from PayPal for sales, subscriptions and donations.
- Much easier to set up and use than a credit card.
- First, set yourself up as a PayPal Merchant.
- Assuming you already have a PayPal account, go to the Merchant Services tab on the main screen.
- On the left, click on a tab called “Website Payments Standard”.
- Once you are set up as a merchant, you will need to set up your product.
- Use the Merchant Services page: Choose the “Buy Now button” option.
- Enter a number of fields, including item name, item ID (a reference number for your own use), price, currency (21 choices!), shipping and tax info.
- Once complete, click on ‘Create Button’.
- It will go to a new page, showing the code for the button.
- You’re interested in the string just after “value=”.
- Copy into hostedButtonID in the control’s properties.
- When the user taps on "Buy Now", PayPal takes over using the information you set up in hostedButtonID.
