A Simple Program: Difference between revisions
| Line 84: | Line 84: | ||
1. Here is how our app looks. | 1. Here is how our app looks. | ||
[[File:TT01.18. | [[File:TT01.18.png|240px|320px]]<br> | ||
2. Tap on the menu button to bring up your choices. Click on | 2. Tap on the menu button to bring up your choices. Click on Add to homescreen. | ||
[[File:TT01.19. | [[File:TT01.19.png|240px|320px]]<br> | ||
3. Click on Add to add it to your | 3. Click on Add to add it to your Home Screen. | ||
[[File:TT01.20. | [[File:TT01.20.png|240px|320px]]<br> | ||
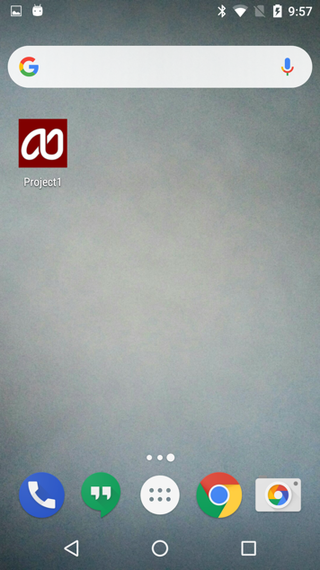
4. | 4. Here is how it looks on the homescreen. | ||
[[File:TT01.21. | [[File:TT01.21.png|240px|320px]]<br> | ||
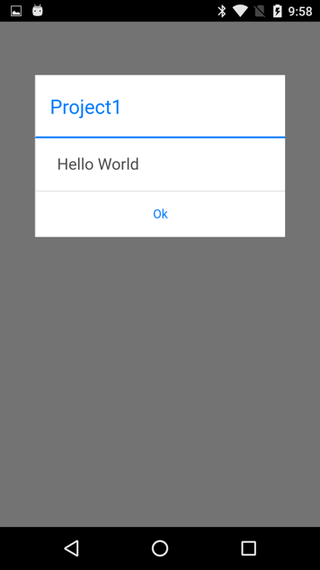
5. | 5. Here is how it looks running on the homescreen. | ||
[[File:TT01.22. | [[File:TT01.22.png|240px|320px]]<br> | ||
Revision as of 21:25, 28 March 2014
Purpose
The purpose of this tutorial is to demonstrate how a simple program is created using AppStudio. You should have AppStudio installed before beginning this tutorial.
Description of the Program
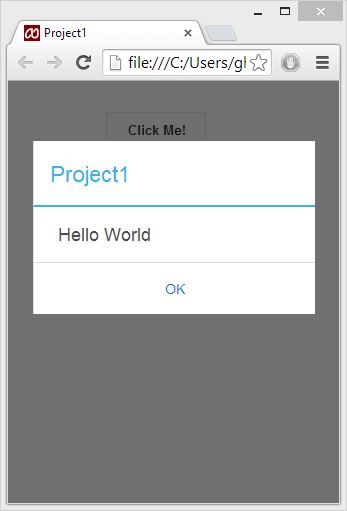
The program to be developed will display a form with a button on it. When the user taps the button, the program responds with the message "Hello World!"
Program Development
Startup
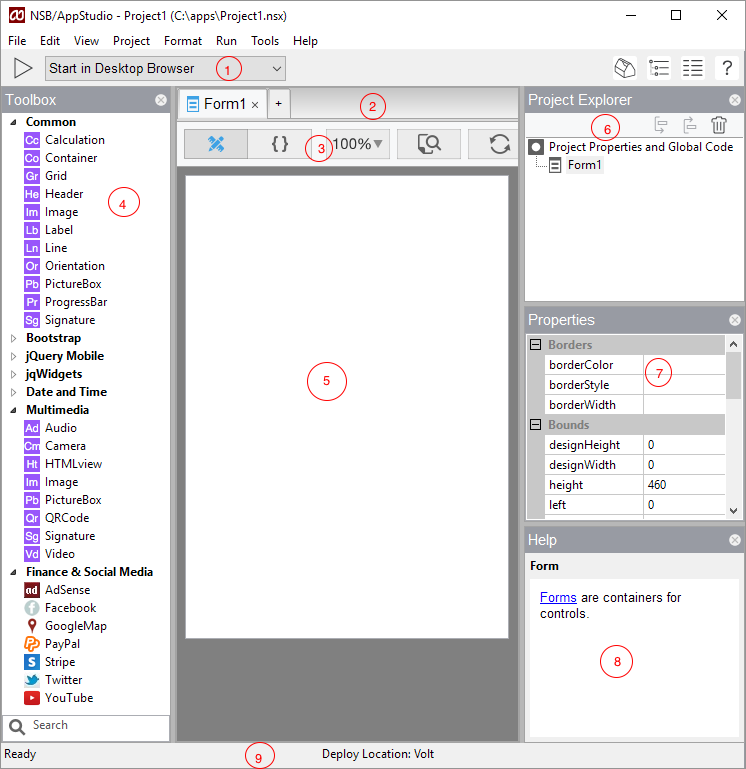
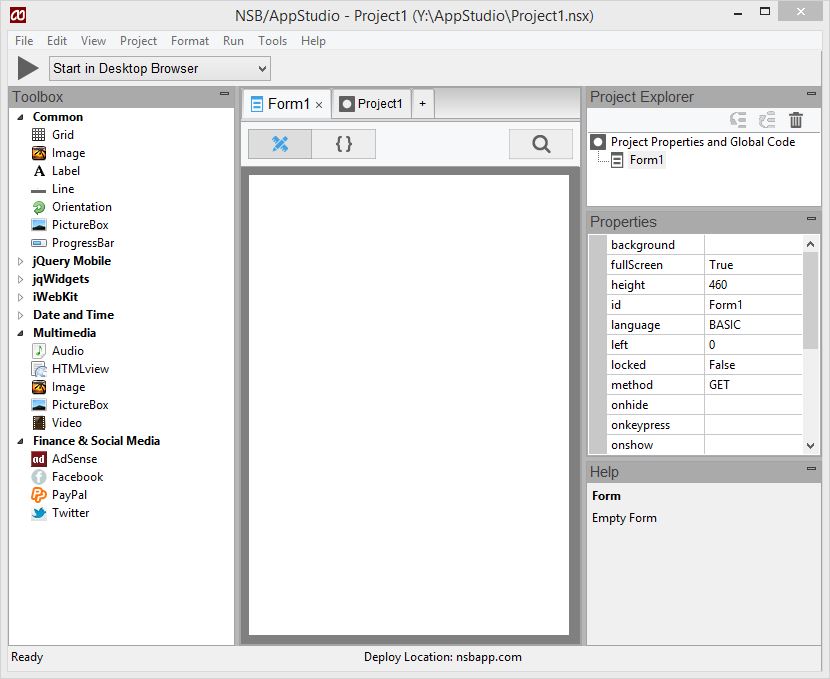
1. Start AppStudio from the Start menu. Here is what you will see:
- Deploy Bar: Starts your app. The picker lets you choose where you want it run.
- Tab Bar: Use this to switch between your open designs and code.
- ToolBox: A list of controls you can put on a form.
- Editor Bar: Choose Design Screen or Code Window, also Find and go to a function.
- Design Screen: Here is where you layout the objects on the form.
- Project Explorer: See the structure of your code. Use this to select objects and to bring up the Properties for them.
- Properties Grid: A list of the properties of the item selected in the Project Explorer.
- Status Bar: Messages from the IDE to you.
- Hints: Some tips on the current object.
- (not shown yet) Code Window: An editor for your program code.
2. Create a new project. Select menu item File...New. Choose BASIC as your programming language, the default iPhone/Nexus size and use HelloWorld as your new File name.
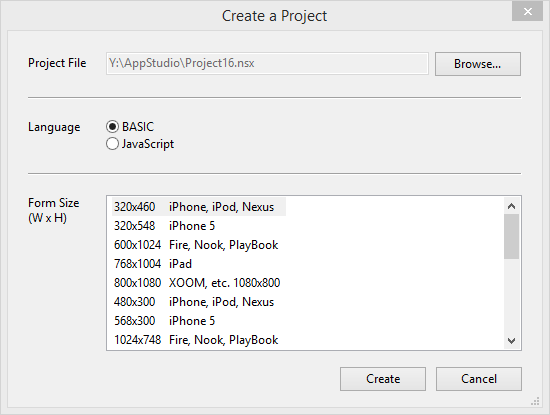
It's best to create your project in a new folder.
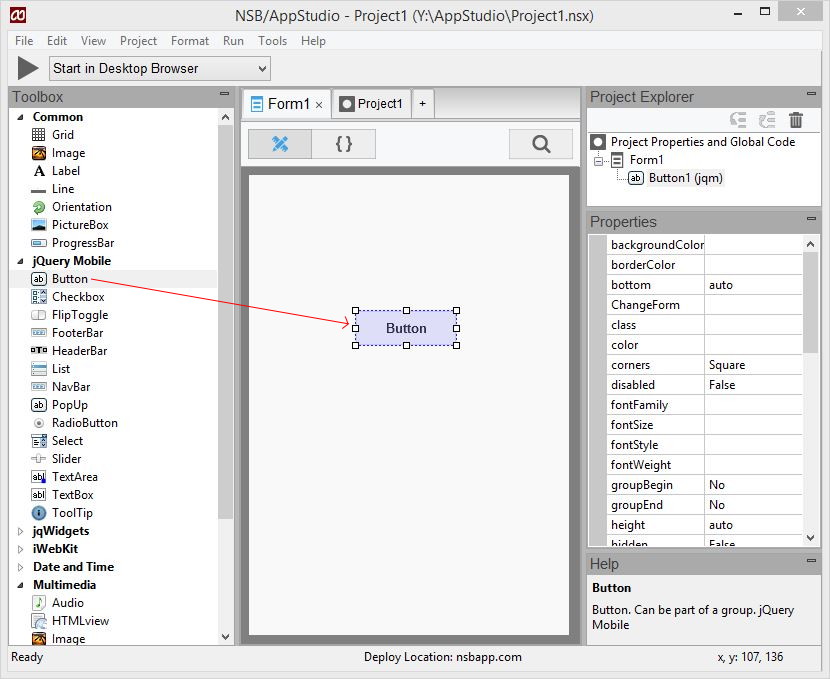
3. Add a Button. Select the button in the ToolBox and drag & drop it where you like.
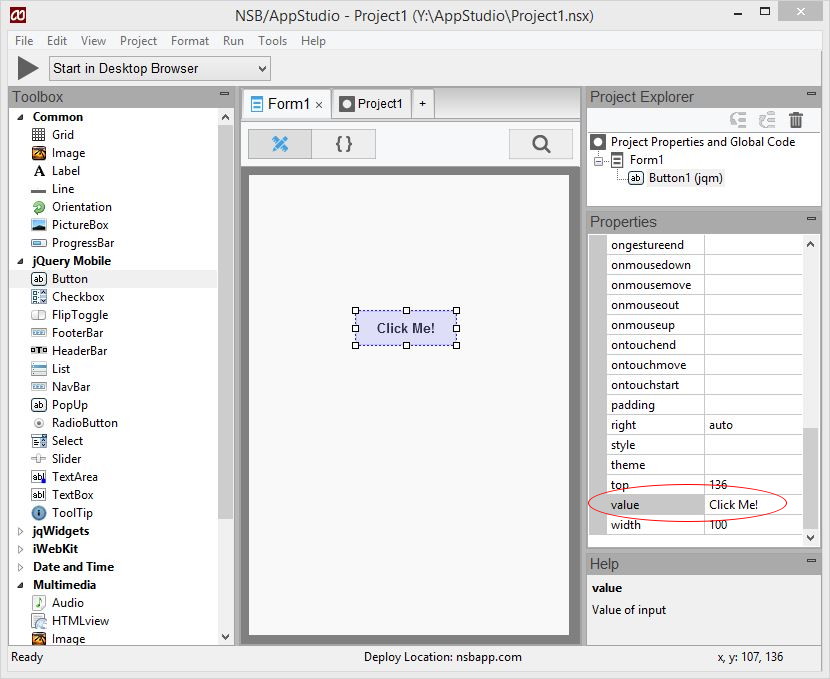
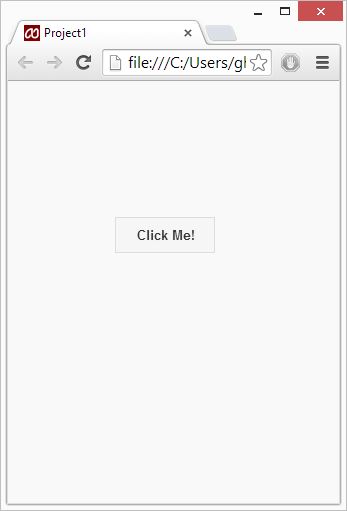
4. Edit the Value of the button to say "Click Me!"
5. We can actually run the program now. Choose Run...Start in Desktop Browser. It runs in your default browser: we recommend using Chrome or Safari, as these support the WebKit extensions which mobile devices use. We could even run this on a device, but let's do a bit more first...
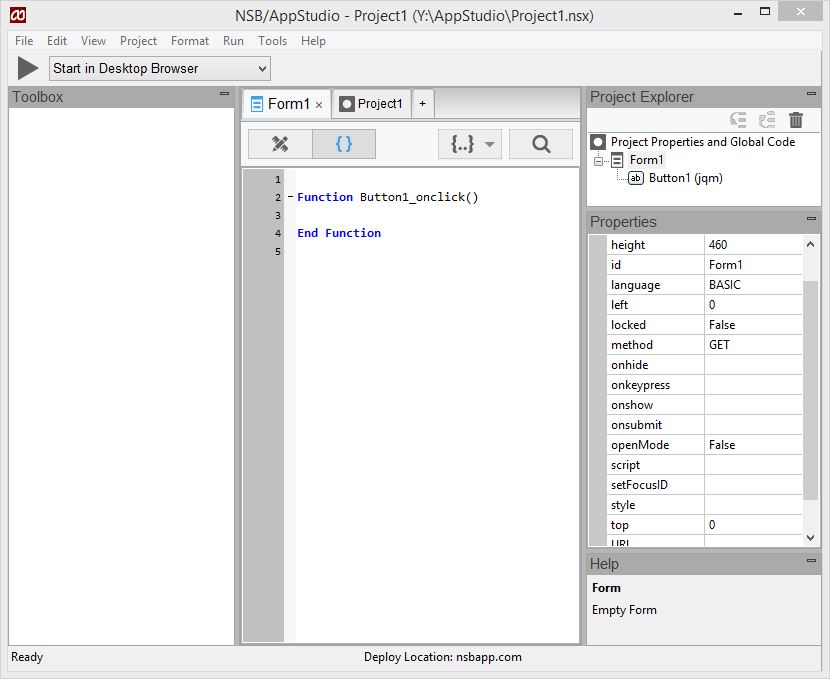
6. In the Properties Editor, choose onclick. It will show a popup with 'Button1_onclick()'. Select that, and you will go into the Code Window:
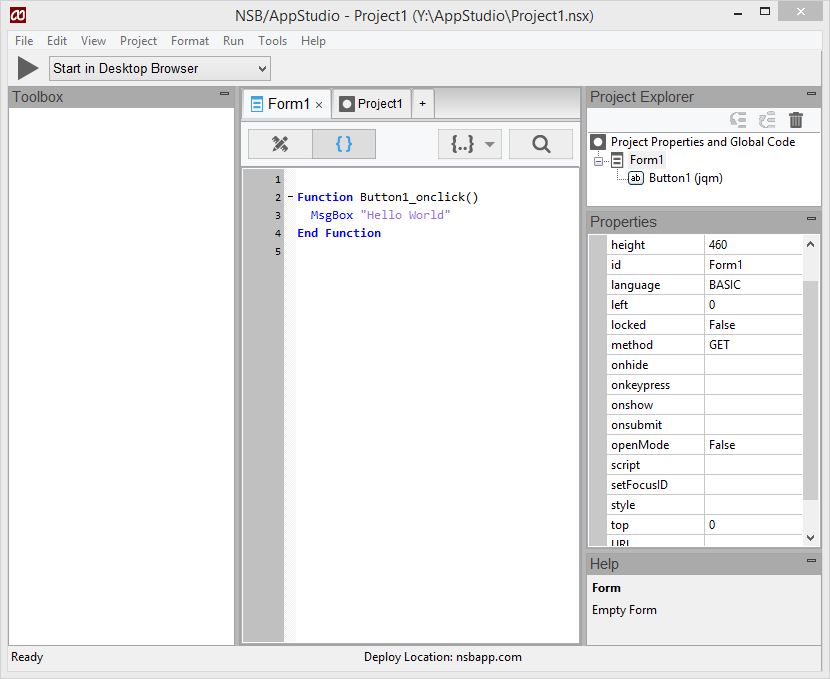
7. Add the following code into the function:
Msgbox "Hello World!"
8. Now, run it again and click on "Click Me!"
Run on an iPhone
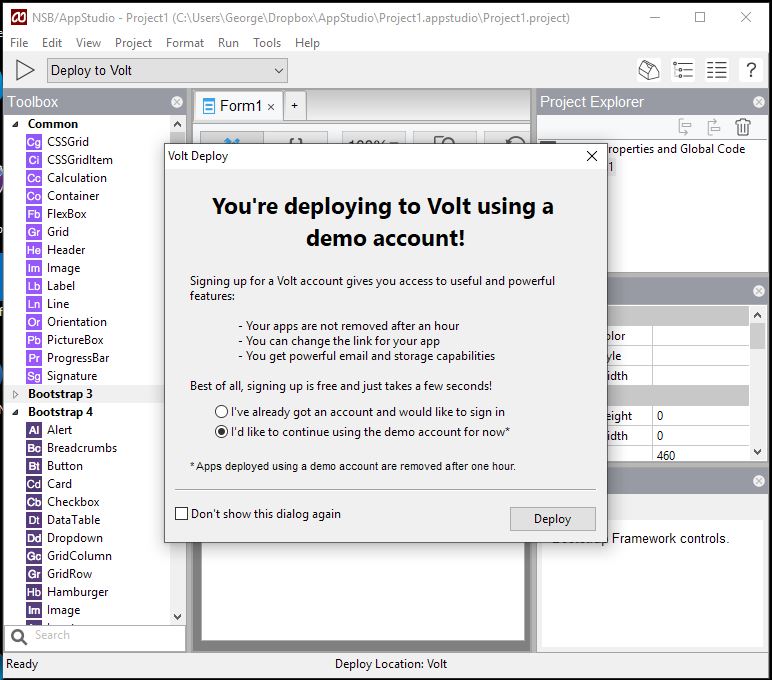
1. Good work! Now let's run it on a phone. From the Deploy picker, choose "Deploy to nsbapp.com server". The IDE will upload your complete app to a webserver called nsbapp.com. We have set this one up for AppStudio users for testing. (We're using an iPhone here. We'll do it for Android next.)
2. Now, get your iPhone and go into Safari. Enter in the URL from the last step.
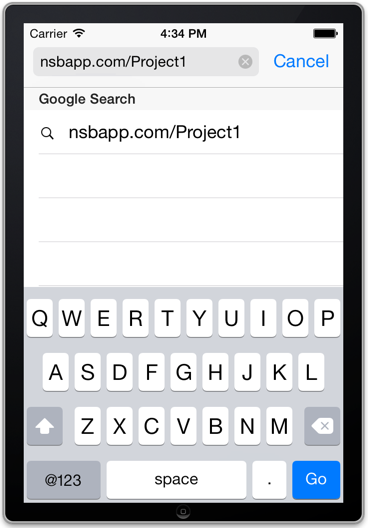
3. Hit Go. The page will appear. You can tap on "Click Me!", and you'll see: a working app in AppStudio.
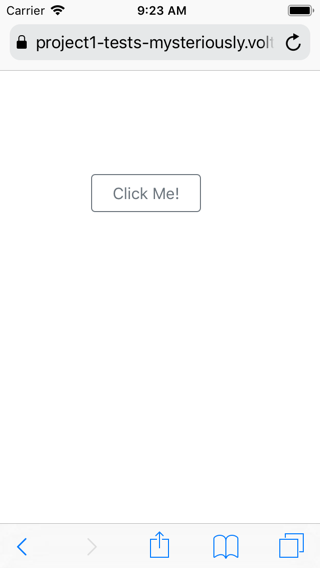
4. But this isn't a real app: it's just a web page that looks like one. Let's turn it into a real app on the Home Screen. First, we'll tap on the box with an arrow icon at the bottom of the screen.
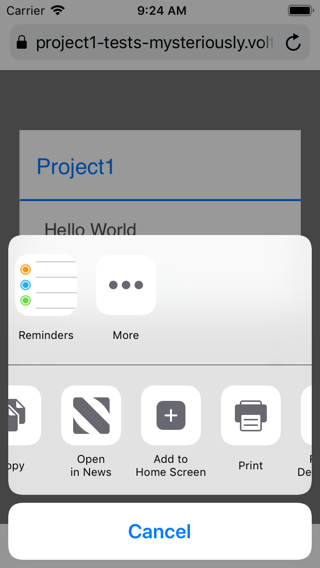
5. Choose "Add To Home Screen", then click on Add.
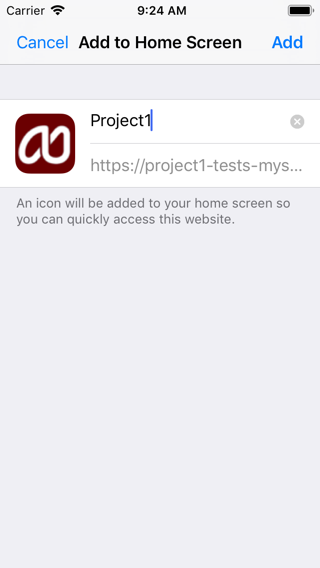
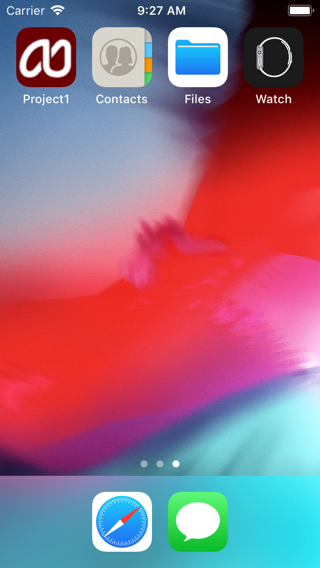
6. We're done. Let's have a look. Here is the Home Screen:
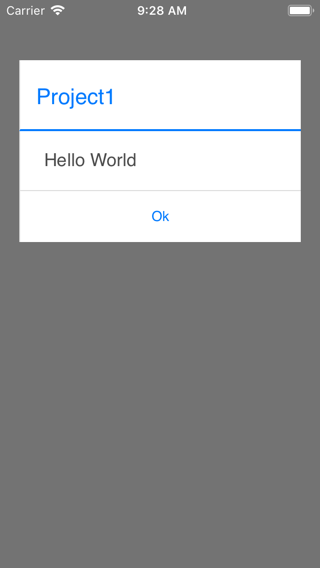
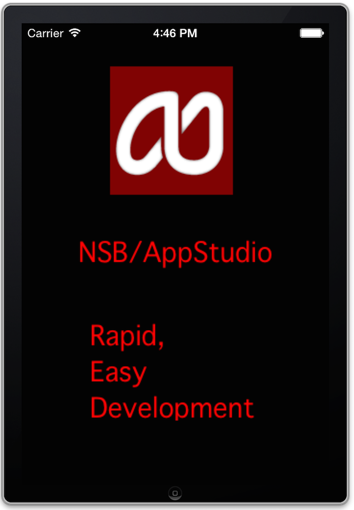
7. Click on the HelloWorld icon, and this splash screen shows up:
8. Now the app itself is showing. Notice the top Safari bar is not there? This app now looks and runs like a normal phone app. It will even run if the device is offline.
Run on an Android device
On Android the procedure is even simpler.
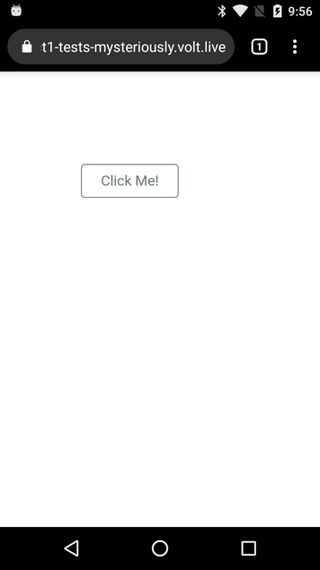
1. Here is how our app looks.
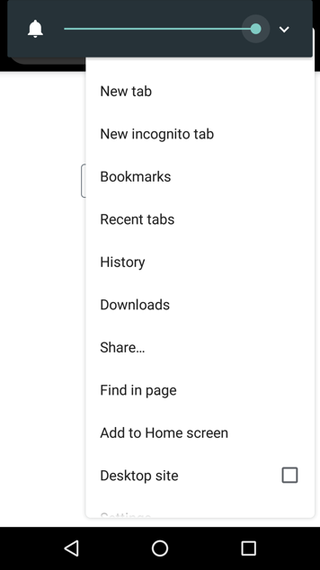
2. Tap on the menu button to bring up your choices. Click on Add to homescreen.
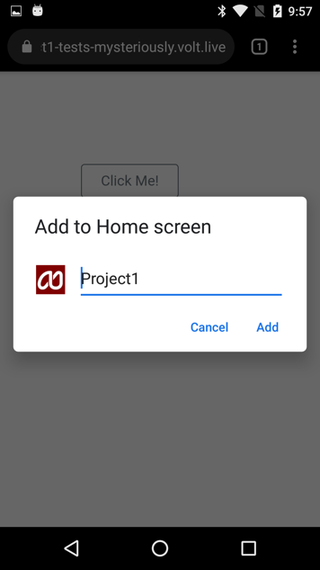
3. Click on Add to add it to your Home Screen.
4. Here is how it looks on the homescreen.
