Using the Cordova API: Pushwoosh: Difference between revisions
| Line 56: | Line 56: | ||
== Creating an AppStudio App == | |||
Revision as of 18:23, 11 June 2014
The Pushwoosh API lets you send notifications from your computer to your app running on the device. While your app is running, if a notification is received, a function in your app will be called with the contents of the notification. It can then take whatever action needed based on the incoming data.
How to send and receive a message
Let's send a simple message to a device. We're assuming everything is set up already. We will cover how to set things up later.
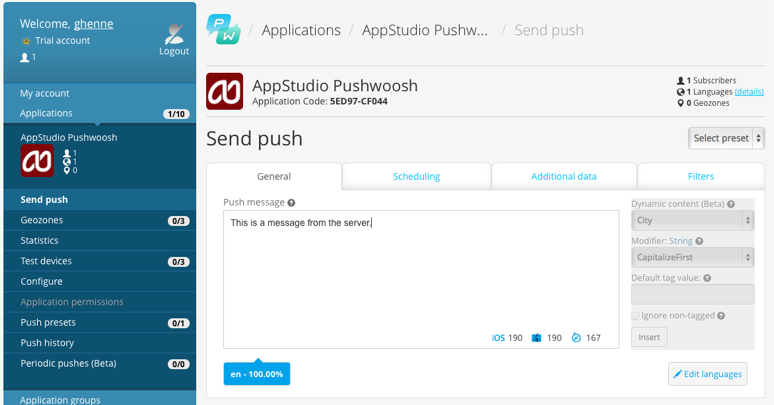
In Pushwoosh, we can compose and send a notification to our app. There are other ways to send notifications: this is the easiest.
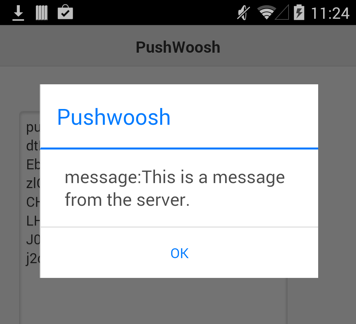
On the device, we already have our Pushwoosh app running. It is written in AppStudio. A moment or two after we sent the message, this appears:
Setting up Notifications
Set up a Pushwoosh account
For testing, all you need is a free account. It lets you send notifications for up to 5 apps on 1 million devices. http://www.pushwoosh.com/pricing/
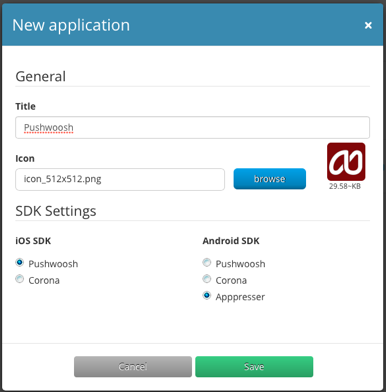
Set up your application
You need to set up each AppStudio app in Pushwoosh: https://cp.pushwoosh.com/applications
- Set Title to the name of your app.
- Select your icon. Any size seems to work - the bigger the better
- Under Android SDK, select Appresser to set the format of the data being sent.
Get Google Cloud Application ID
Pushwoosh has good instructions for this step here: http://www.pushwoosh.com/programming-push-notification/android/android-gcm-api-configuration/
The end result will be to get an API Key, a number which looks like 938103699235. This will be used later as your projected in your AppStudio program.
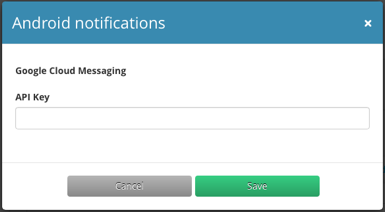
The platform settings give specific configuration information for the platform. Choose your project from "Applications", then click on the Android "configure" tab. You will get this:
Get the appid
The appid appears on the list of applications. You'll need this number for your AppStudio program.


