Communicating with a Server - JS
Purpose
The purpose of this tutorial is to demonstrate sending data to a server, and then receiving information in return. This is useful for a variety of functions: verifying an username and password, updating information in a database on the server or requesting information from the server.
Description of the Program
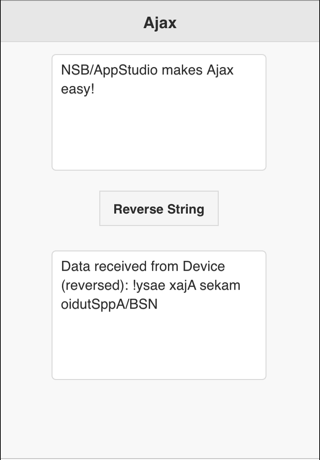
The program to be developed will display a textarea. When the Send Data button is clicked, the information in the textarea is sent to the server. The server then replies and the program puts the information in the reply into the results area.
This tutorial assumes the user has already worked through the earlier tutorials and is familiar with how to use the IDE, create controls and deploy complete apps. It also assumes the user has access to a server which can execute PHP scripts. (nsbapp.com, the AppStudio test server, does not support PHP.)
The technique used is Ajax. For much more information on Ajax, read Ajax made Simple.
The program this tutorial produces is available in Samples Folder 7/Ajax and ReadFile, which comes with App Studio. It is called Ajax.
Program Development
Start by creating a new project
Start App Studio from the Start menu. At the initial screen select New Project dialog box, with the following settings:
- Form factor should be iPhone/iPad/Nexus
- Name is Ajax.nsx
- Language is JavaScript
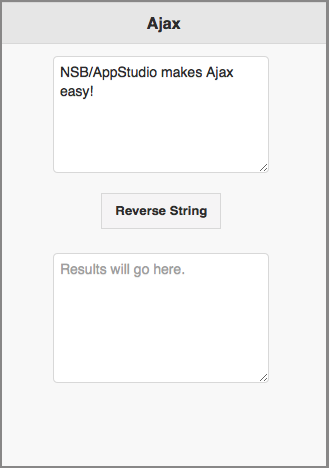
- Create a form that looks like this:
The two TextAreas have their id set to txtSend and txtResponse. The Send Data button should have the id of btnSendData.
The Send Button
Open the code window and add this code:
var req;

btnSendData.onclick = function() {
    req = Ajax("https://www.nsbasic.com/i/Ajax/ajax.php/?myText=" + txtSend.value, done);
};


function done() {
    if (req.status == 200) { //success
        txtResponse.value = req.responseText;
    } else { //failure
        msg = "Error: Status = " + req.status;
        if (TypeName(req.statusText) == "string") {
            msg = msg + " " + req.statusText;
        }
        if (TypeName(req.err) == "string") {
            msg = msg + " " + req.error;
        }
        NSB.MsgBox(msg);
    }
}
The Ajax() function sends the text to ajax.php, a program running on the server. When the Ajax call completes, the function 'done' is called.
The text following the question mark in the Ajax function is called a Query String. The maximum size is quite high - people have tested sending as many as 80,000 characters.
The Server Side
On the server side, ajax.php waits for messages from client apps. There are a number of other programming languages and techniques for doing this. Others include ASP and CGI.
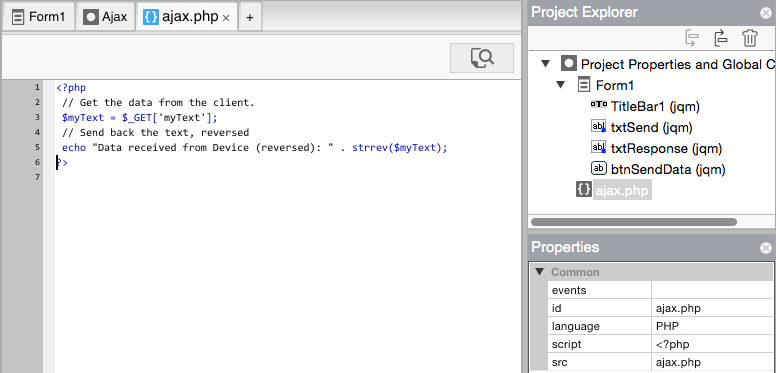
Let's create our own small PHP script. Use a text editor to create a small file in your project folder called ajax.php, with the following contents:
<?php
 // Get the data from the client.
 $myText = $_GET['myText'];
 // Send back the text, reversed
 echo "Data received from Device (reversed): " . strrev($myText);
?>
From the Finder, drag the file into the Project Explorer. It should look like this:
The first line of code in this script reads a value from the query string. We named the value of txtSend 'myText' in the query string, so that value is put into a variable.
The second line echoes the contents of myText back to our app, but reversed. It will be put into the req object which we DIMmed.
Back to our App
The final line of the server side script sends the results back to our app and calls the done() function. The results are in req.responseText.
That's it. We can now test it. Note that we have to test using a deployed version of the app. For security reasons, only PHP scripts which are on the same server as your app can be called. (nsbapp.com does not support PHP, so you will need to test this on your own server.)


