Using Smart Device Sensors: Difference between revisions
| Line 73: | Line 73: | ||
The camera is accessed using the [[Camera]] control. | The camera is accessed using the [[Camera]] control. | ||
[[file: | [[file:Camera.png] | ||
The Camera control lets you take pictures using your device's camera and display them in a PictureBox. The contents of that PictureBox can be saved in a database or sent to a server. All the settings needed to take a picture can be set at design time in AppStudio: no additional code needs to be written. | The Camera control lets you take pictures using your device's camera and display them in a PictureBox. The contents of that PictureBox can be saved in a database or sent to a server. All the settings needed to take a picture can be set at design time in AppStudio: no additional code needs to be written. | ||
Revision as of 12:48, 29 September 2014
Smart devices have many capabilities that desktop system do not. It's easy to use them using AppStudio: This Tech Note will explain how.
The information in this Tech Note is based on devices running iOS7 (or later) or Android OS (4.0) or later. Older devices and some manufacturers may not support all features. See caniuse.com for more info.
Accelerometer

The Accelerometer is a sensor that returns information about the device's movement.
- Results are returned in meters per second squared.
- Results can be with or without taking gravity into effect.
- Whenever motion is detected, the window_ondevicemotion function is called.
Sub window_ondevicemotion(event)
  ax = event.accelerationIncludingGravity.x;
  ay = event.accelerationIncludingGravity.y;
End Sub
- This code sets a couple of global variables: acceleration in the x direction (horizontal) and the y direction (vertical)
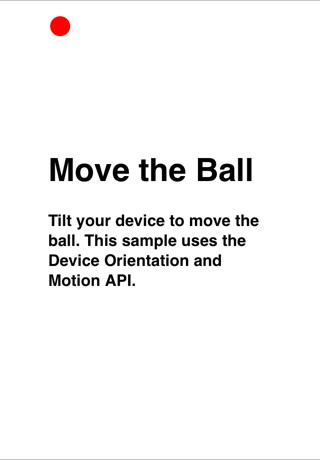
- We can use this data to move a ball around on the screen.
- We will sample the the movement 100 times per second.
- Based on how high the movement rate is, move the ball varying distances.
delay = 10
SetInterval(moveBall, delay)
- SetInterval is an AppStudio function which calls a function repeatedly.
- moveBall is the name of the function to call.
- delay is the time, in milliseconds.
Sub moveBall()
  vy = vy + -(ay)
  vx = vx + ax

  y = parseInt(y + vy * vMultiplier)
  x = parseInt(x + vx * vMultiplier)

  'do bounds checking
  If x<0 Then
    x = 0
    vx = 0
  End if
  If y<0 Then
    y = 0
    vy = 0
  End if
  If x>document.documentElement.clientWidth-20 Then
    x = document.documentElement.clientWidth-20
    vx = 0
  End if
  If y>document.documentElement.clientHeight-20 Then
    y = document.documentElement.clientHeight-20
    vy = 0
  End if

  ball.style.top = y + "px"
  ball.style.left = x + "px"
End Sub
- The first 4 statements calculate the new position.
- The next section checks to make sure the ball does not roll off the screen.
- The last two statements do the actual movement.
The complete sample is called Accelerometer.
Camera
The camera is accessed using the Camera control.
[[file:Camera.png]
The Camera control lets you take pictures using your device's camera and display them in a PictureBox. The contents of that PictureBox can be saved in a database or sent to a server. All the settings needed to take a picture can be set at design time in AppStudio: no additional code needs to be written.
The default icon is a camera icon. You can change this to a different icon or text.
The Cameral control has the same properties as a Button, with one addition, the picturebox property.
See the complete documentation here.