Preferences: Difference between revisions
No edit summary |
No edit summary |
||
| Line 2: | Line 2: | ||
=== Deploy Options Tab === | === Deploy Options Tab === | ||
[[File:preferences.png|400px]]<br /> | [[File:preferences.png|frame|400px]]<br /> | ||
The information on this screen is used to deploy your app to a server, other than the App Studio test server (nsbapp.com). For more information on deploying, see [[Testing and Deploying]] and [[Distributing_your_App|Tech Note 05, “Distributing your App”]]. <br /> | The information on this screen is used to deploy your app to a server, other than the App Studio test server (nsbapp.com). For more information on deploying, see [[Testing and Deploying]] and [[Distributing_your_App|Tech Note 05, “Distributing your App”]]. <br /> | ||
Revision as of 13:34, 12 April 2015
This screen lets you configure your deploy options and change the language the IDE uses.
Deploy Options Tab

The information on this screen is used to deploy your app to a server, other than the App Studio test server (nsbapp.com). For more information on deploying, see Testing and Deploying and Tech Note 05, “Distributing your App”.
| Deploy the current project to the |
|
| Deployment Location |
|
| Protocol | Does your site use SFTP or FTP for file transfers. SFTP is faster and more secure. |
| Server | The name of the server. For example, nsbasic.com. Do not put http:// as part of the path. |
| Port | The port the server uses for file transfers. The default is usually correct. |
| Path | The directory to install to on the server. This can be blank. If the directory does not exist, it is created. |
| Username | The user name used to ftp into your site. |
| Password | The password used to ftp into your site. |
| Local Path | The path on your local system to depoy to. |
| PhoneGap AuthToken | The AuthToken from your PhoneGap Build account. |
Languages Tab
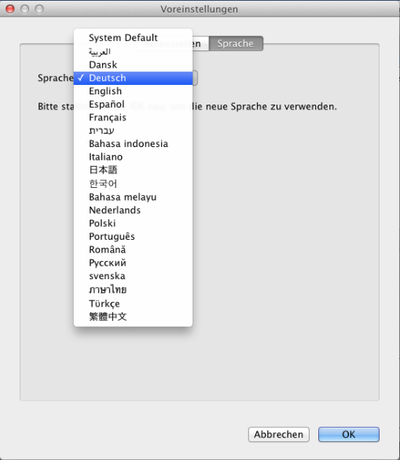
On startup, the IDE looks at the system default language, then loads the appropriate language table.
Languages which are fully translated include Arabic, Chinese, French, German, Indonesian, Italian, Japanese, Korean, Polish, Russian, Spanish and Thai.
Languages that are partially complete include Danish, Dutch, Hebrew, Malay, Portuguese, Romanian and Swedish.
The translations are being done by over 50 hard working volunteers. If you want to help or add another language, contact us at support@nsbasic.com.
If you prefer to work in a language other that the system default, it is easy to change. Go to into Preferences and choose the Language tab. Select the new language and restart the IDE
Code Tab
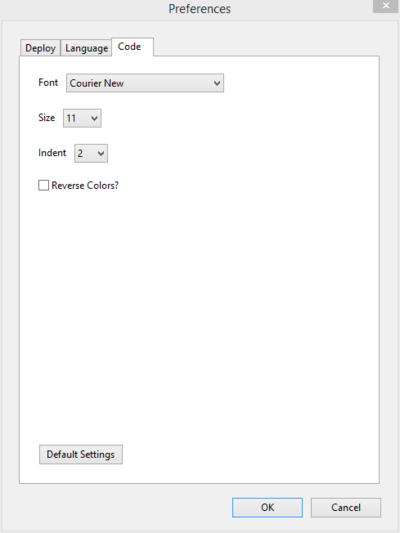
The Code Preferences let you select the font name, size and the number of spaces for a tab in the Code Window.
PhoneGap Tab
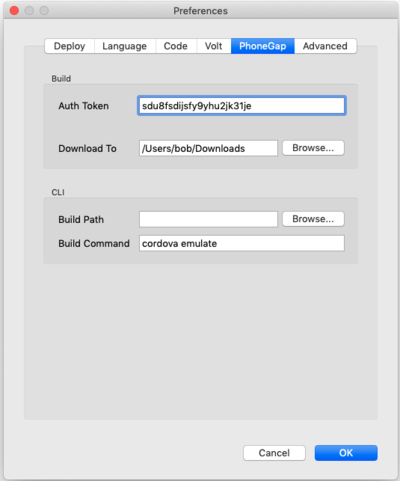
The panel lets you set the preferences for PhoneGap.
If you are using PhoneGap Build, your Auth Token (from your PhoneGap Build account) should be entered here.
If you are using PhoneGap CLI, the Build Path indicates where AppStudio should write the files used by PhoneGap CLI. It defaults to the project's current folder. The Build Command is the command to run once the files have been written. It defaults to build and run in the Android Emulator.
Advanced Tab
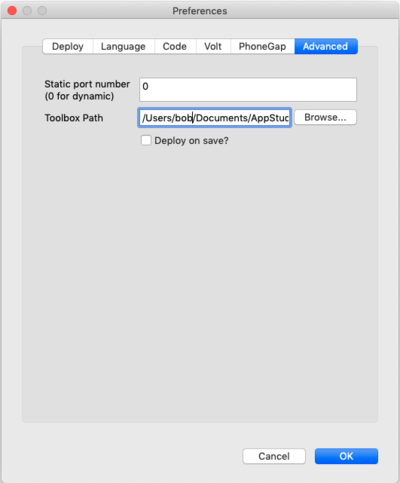
The panel lets you set the preferences for PhoneGap.
If you are using PhoneGap Build, your Auth Token (from your PhoneGap Build account) should be entered here.
If you are using PhoneGap CLI, the Build Path indicates where AppStudio should write the files used by PhoneGap CLI. It defaults to the project's current folder. The Build Command is the command to run once the files have been written. It defaults to build and run in the Android Emulator.
Next: Build Native App


